Revenge Makeup
7 Steps to Looking Effortlessly Unbothered

You know that scene in every movie where the main character reappears after a breakup looking impossibly good? That’s the kind of revenge I’m talking about.
A client sat in my chair recently and told me her ex-husband’s new wife would be at an event she was attending.
“I need revenge makeup,” she said.
Thankfully, this is a service I provide.
And just like that, my favorite beauty topic of the week landed in my chair.
As we started brainstorming what her version of revenge makeup looked like, I realized something. The best revenge makeup isn’t heavier makeup.
Sure, if you’re deep in your villain era, a smoky eye and a fire-engine red lip have their place. I fully support that journey. But for this event, we weren’t trying to make a statement. We were going for the kind of look that makes people stare for a second and wonder why you look so good.
That’s dimensional makeup.
Think of it as no-makeup makeup—but with all the technique that goes into full glam.
Full glam reads beautifully in photos, under event lighting, and on camera. But in person, it can sometimes feel a little too done. Revenge makeup lives in the sweet spot between the two: skin that looks like skin, features that feel naturally sculpted, and eyes that read brighter.
The goal isn’t for someone to notice the makeup. It’s to make them think, Wow, she looks incredible. Like you woke up looking that good and simply decided to show up.
Or at least that’s the story we’re telling.
Here’s exactly how we created her version of revenge makeup.
Step One: Hydrated Skin
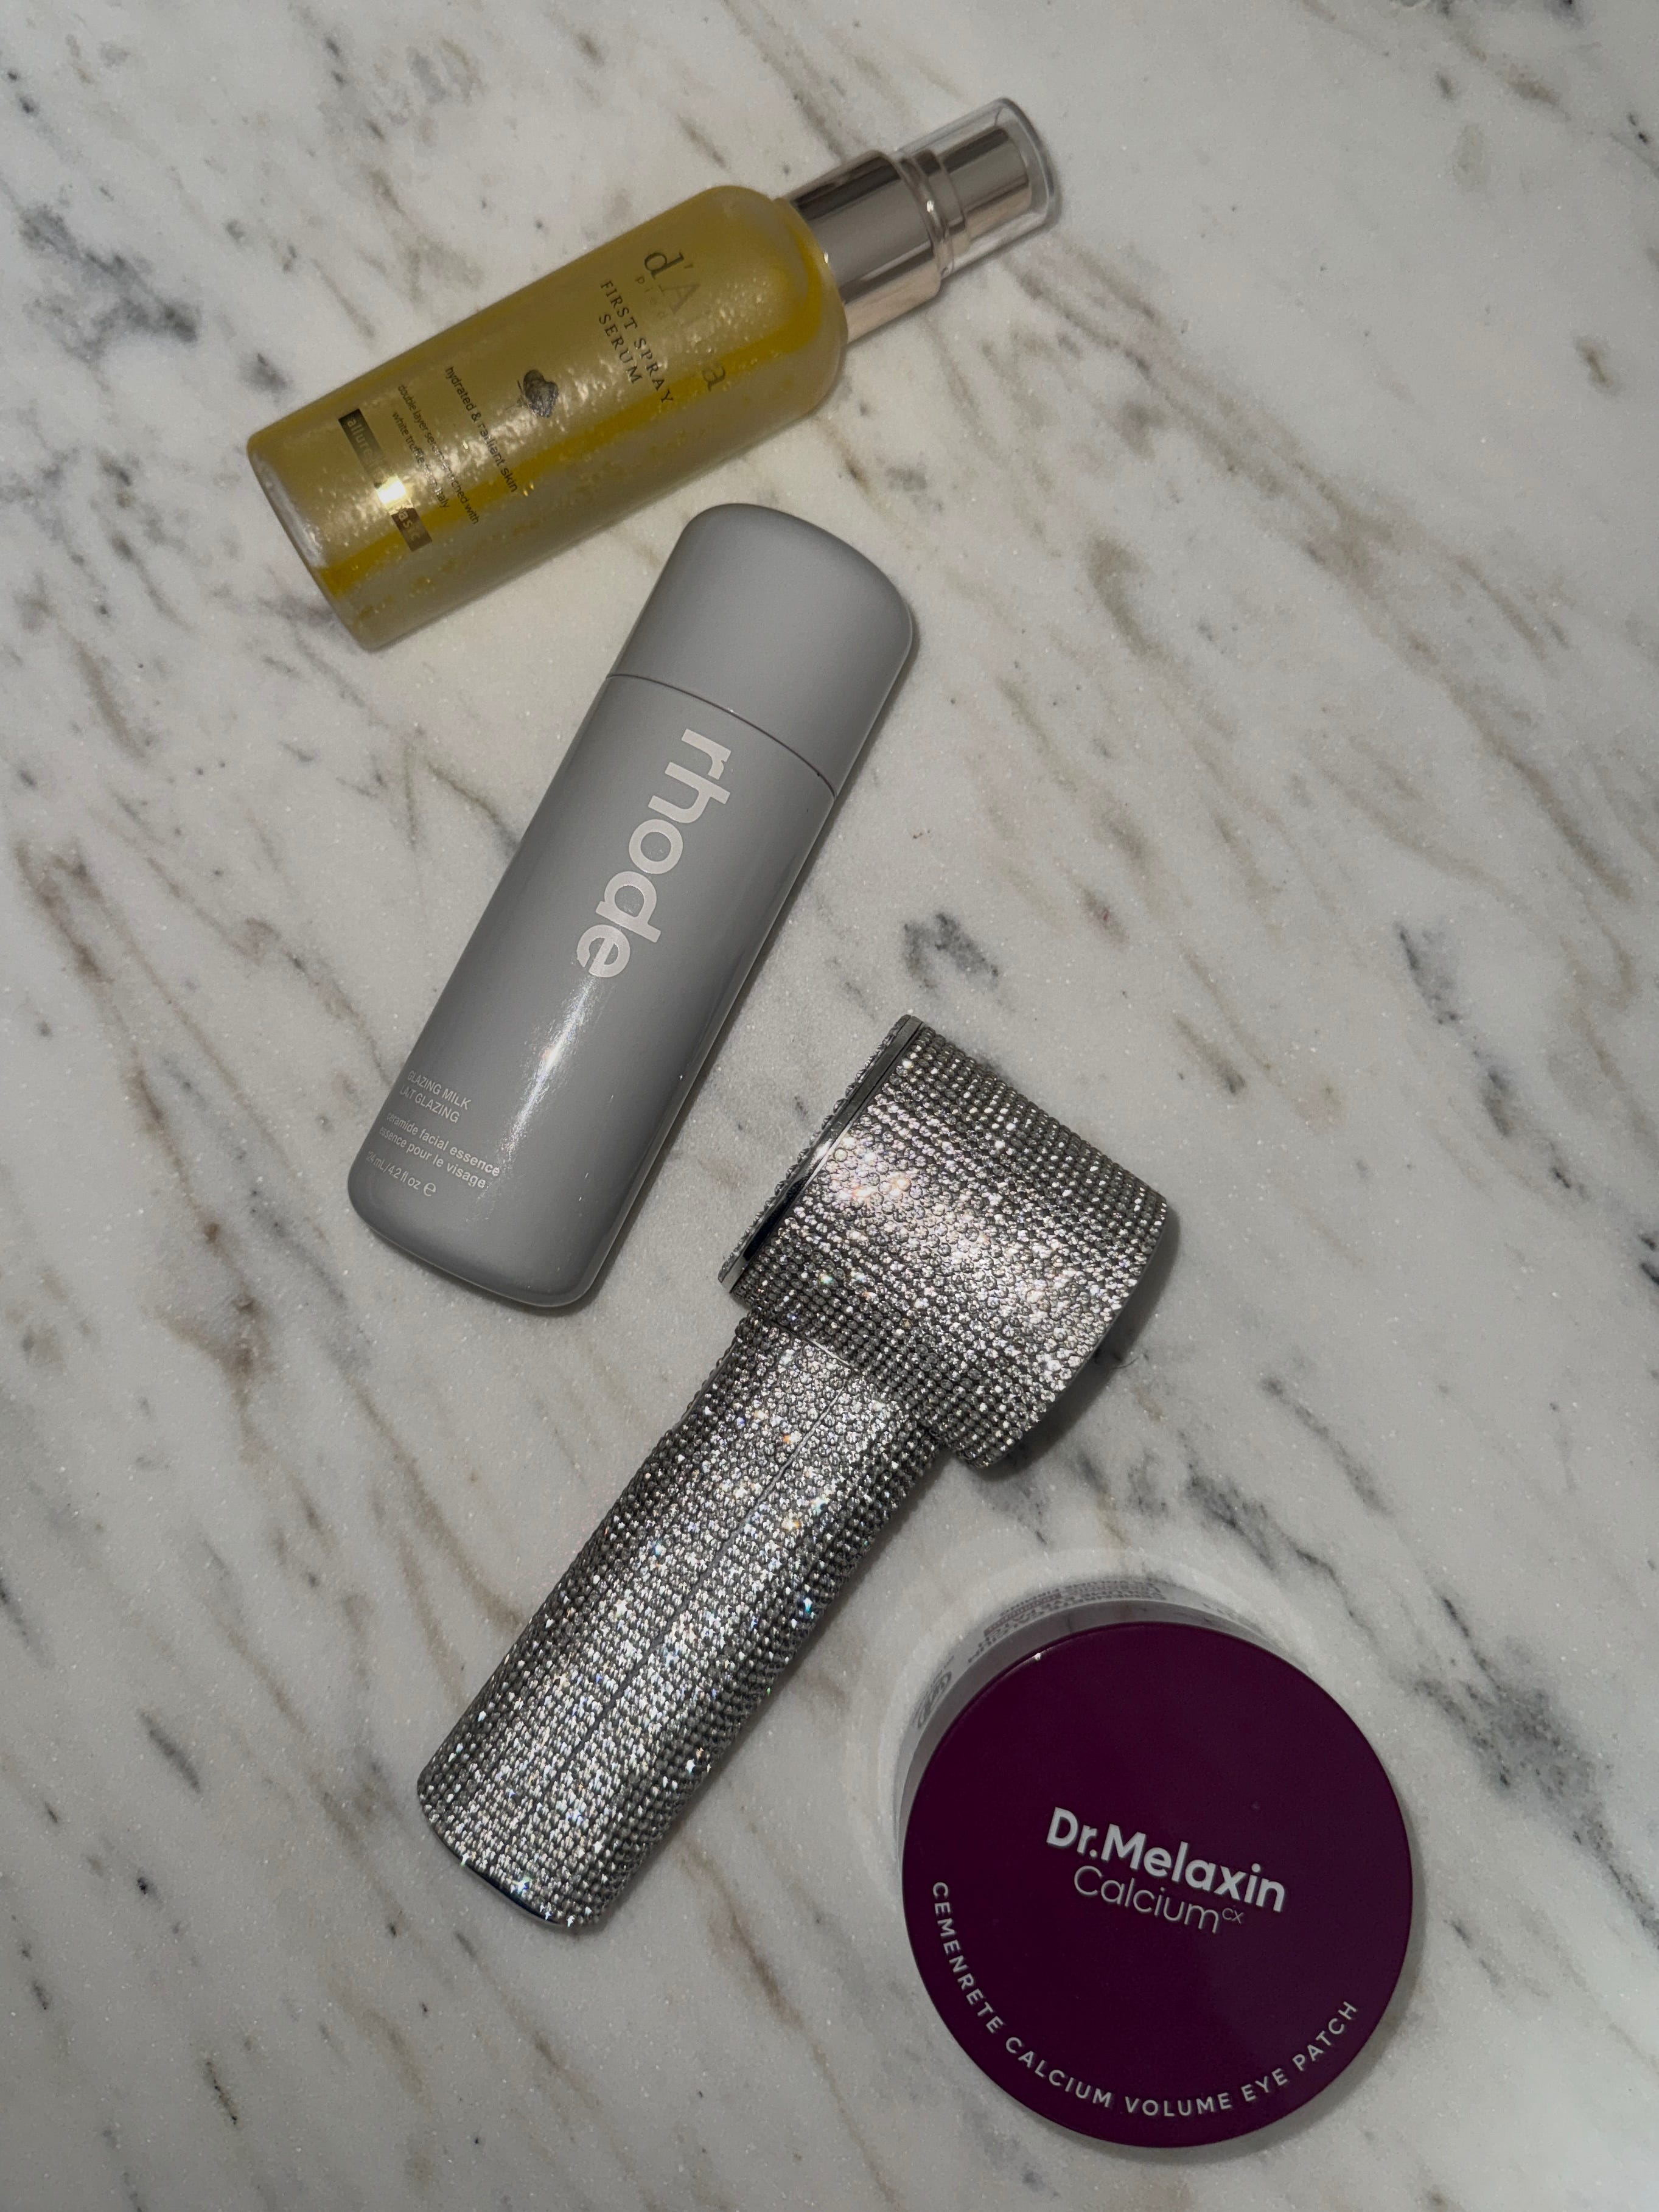
I started by prepping her skin with the d’Alba First Spray Serum.
Little trick: if your skin is dry, shake the bottle before applying. If you’re oily, don’t. I’ve also been using it as a setting spray, but lately I’ve been loving it as a prep step because it gives the skin that hydrated, fresh-looking base that makes everything else sit beautifully.
Next came Rhode Glazing Milk on the face and neck.
While that settled in, I fanned her skin with my new bedazzled fan—which, for the record, is bringing me an unreasonable amount of joy—and applied the Dr. Melaxin Calcium Volume Eye Patches.
Step Two: Skin-like Foundation
I dotted M.ph Beauty Foundation very minimally around the face and blended everything with a foundation brush until it felt like her skin.
Step Three: Strategic Concealing
I used Charlotte Tilbury Beautiful Skin Radiant Concealer only where it was needed—around a few sunspots and small areas of discoloration.
I skipped concealer under the eyes completely.
Once I removed the eye patches, I tapped whatever foundation remained on the foundation brush underneath the eyes.
The result was fresh and natural. Almost like she’d just had a hydrating facial.
Step Four: The Summer Glow
The Hung Vanngo Bronzing Sculptor and Dior Forever Bronzer are easily two of my current favorites. We used them to softly define the face and eyes, creating shape and dimension without looking contoured.
In fact, I recently did a makeup session with Hillary Kerr that was entirely focused on bronzer. She wrote about it in her newsletter this weekend, and since many of the techniques are the exact same ones I used here, I’ll link Bronzer 101 below if you’d like a deeper dive.

Step Five: Eyes That Pop
For the eyes, I tightlined the upper lash line with a bronze Charlotte Tilbury pencil.
Tightlining remains one of my favorite makeup illusions because nobody can quite tell why your eyes look better—they just do. It’s invisible dimension. Nobody notices it’s there, but it’s doing most of the work. I’ve done a quick video tutorial on tightlining in a past story that I will add below.
Since the pencil isn’t a long-wear formula, it migrated into the lower waterline, which actually ended up looking softly lived in and beautiful. If you want the liner to stay put on the top, my tried and true is the Makeup by Mario Eyeliner Pencil.
Then I added two coats of waterproof Dior mascara and finished with a Lilly Lashes Half Lash in Daydreamer. The lashes were there, but it just looked like good mascara. Exactly what we wanted.
We skipped filling in the brows and brushed them upward with a clear brow gel.
Step Six: Refining the shine
I lightly powdered the forehead, under-eye area, sides of the nose, and chin using Givenchy Prisme Libre No. 3. The skin was still luminous everywhere else.
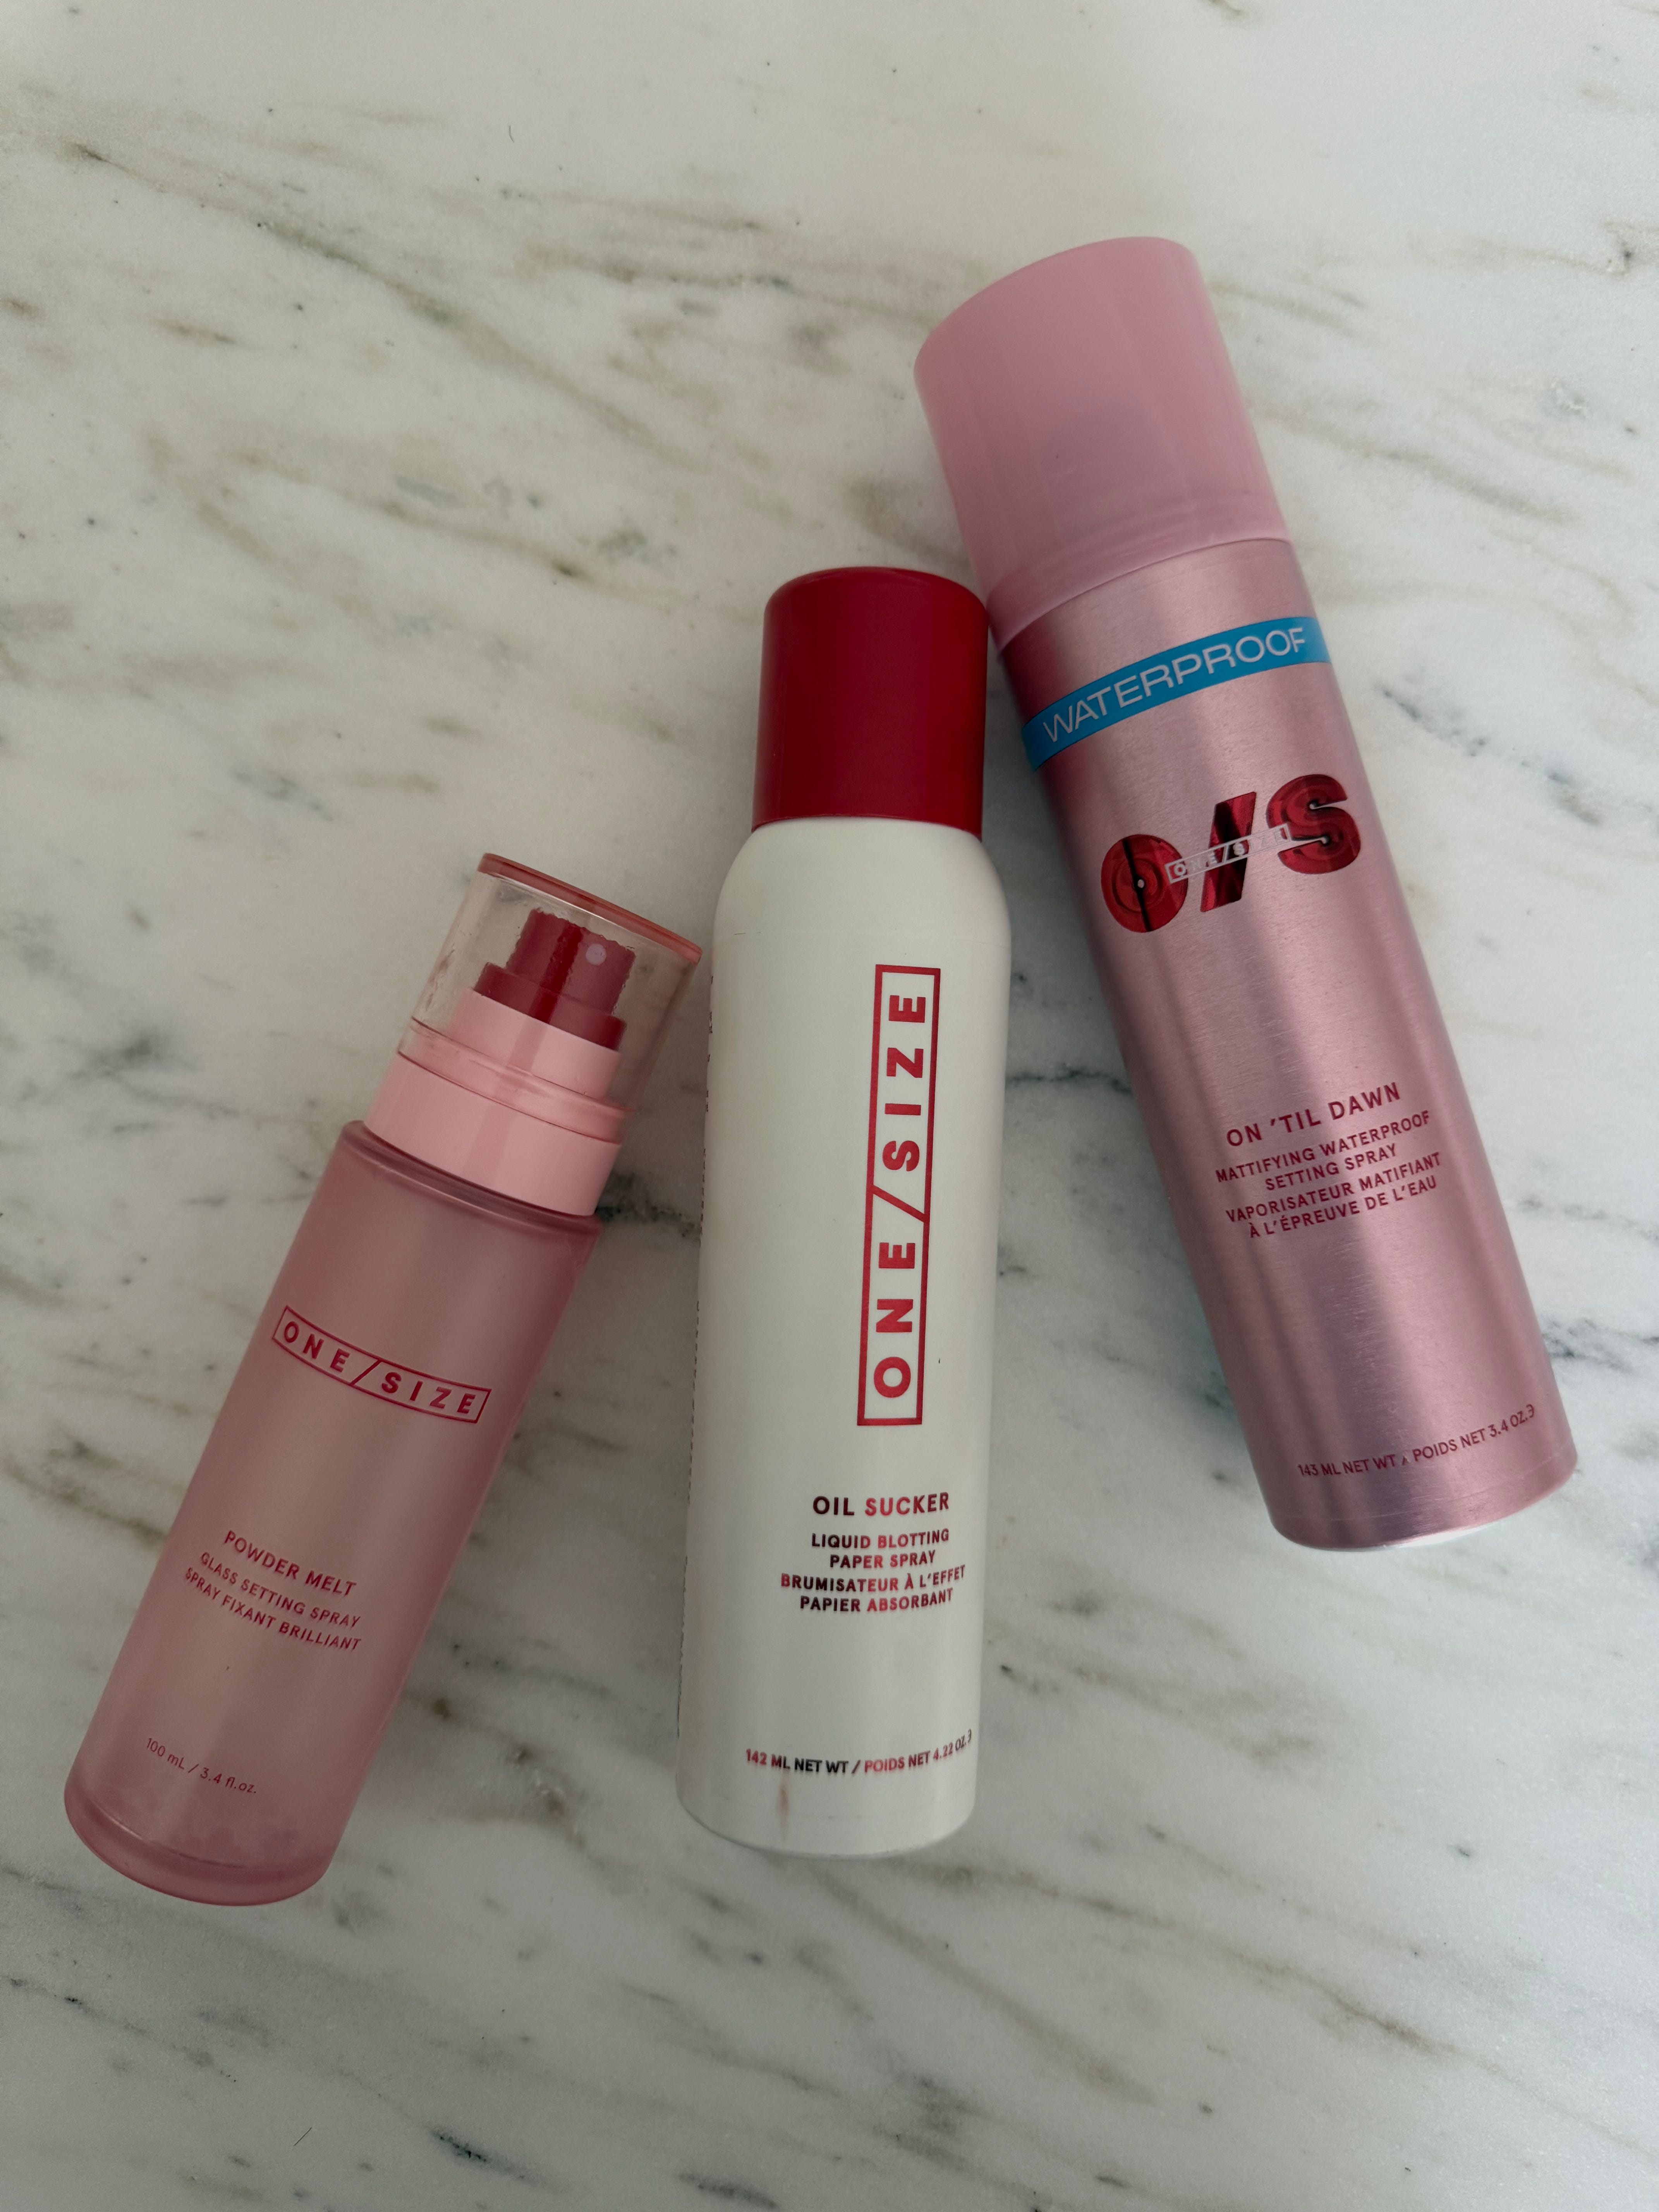
Step Seven: The Triple-Lock Setting Spray
If revenge is the mission, makeup longevity becomes a non-negotiable. Your makeup will not go anywhere with this trio. All by One/Size. Naturally, the bedazzled fan made another appearance between each spray.
First, I “Melt” any excess powder with Powder Melt Glass Setting Spray.
Then I go in with Oil Sucker Liquid Blotting Paper Spray through the center of the face to remove any excess shine.
Finally, I seal everything with On ‘Til Dawn.
Her feedback at the end of the night was:
“My makeup looked perfect and didn’t move at all!”
The highest compliment a makeup artist can receive. Especially on a 90-degree day with an ex-husband’s new wife in attendance.
This whole thing was GORG but you really had me at “While that settled in, I fanned her skin with my new bedazzled fan” 🪩🪩🪩
Thankyou Joey and for the recommendation for a tight line pencil that won’t move.